This is the first step to students learning how to read and write music that a lot of people take after teaching steady beat. Let’s break down teaching rhythm vs steady beat from a Kodaly perspective.
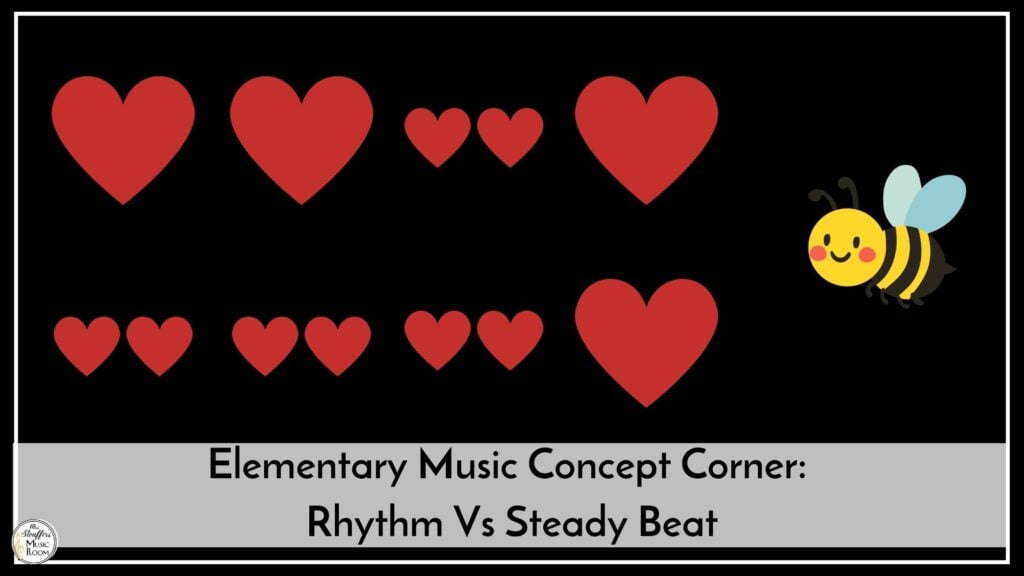
The key for teaching students steady beat vs rhythm is for them to be able to identify between steady beat and rhythm and which is which.
Kinesthetic:
You want students to be able to show the beat or the way the words go in a variety of ways. This can look like tapping, clapping, and moving. They should be able to switch back and forth between the two. A great way to put it in their feet is “walk vs tiptoe” (you could say running, but then…well you know). For example, if you play a pattern of ta ti-ti ta ti-ti (rhythm only, no syllables) on a drum, students should be able to translate that into movement in their feet while saying “walk tiptoe walk tiptoe”.
They should also be able walk with a steady beat and tap the way the words go to a song they know in their hands.
Aural:
A great activity is for students to be able to hear patterns and be able to identify what they heard. Play for them either beat or the way the words go. They should be able to tell you which is which. Have students decode patterns into words (Ex: long short or walk, tiptoe). Use songs students know and ones they don’t as they get more comfortable.
Visual:
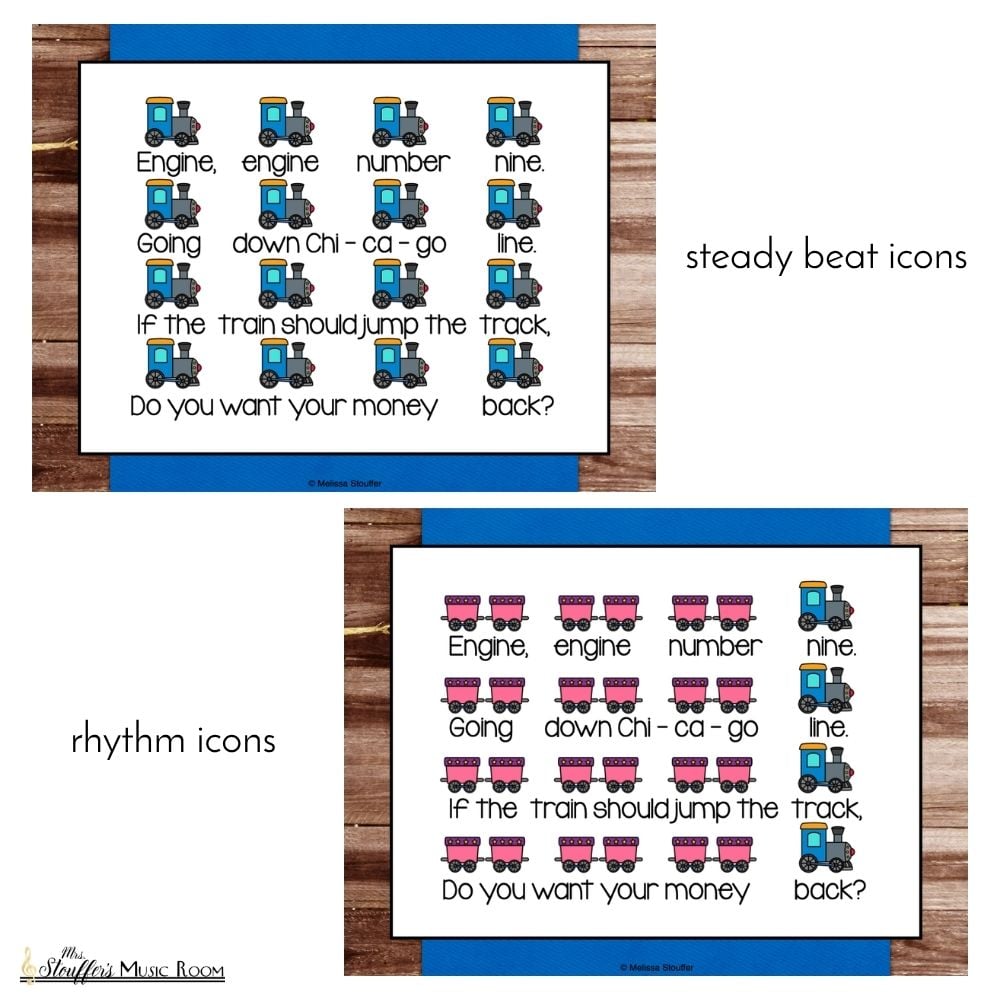
Using steady beat icons, students can tap the rhythm of the words (for example, if a beat has 2 sounds, they tap that icon two times). After they have been able to demonstrate this which steady beat icons, then rhythm icons can be introduced.
A great question to use when you are asking students to identify is, “Are these the same or different?”
How do you know they are ready?
Pick a song they know well, can say very easily, and is only ta and ti-ti rhythms. Isolating parts of songs is easier when students are older. Some good ones are Engine Engine, Bee Bee Bumblebee, I Climbed Up the Apple Tree, See Saw, or Quaker Quaker. I personally am a fan of Bee Bee because the rhythm varies by line and it’s one we do very early in the year.
When you present, make sure you include kinesthetic, aural, and visual cues. A great way to do this would be to sing a known song that the students can correct perform, have them clap or pat the beat while they watch you tap the icon notation.
Tell them:
Early practice should look like late prep. But the students know the name. In particular with steady beat, there isn’t really a new portion of practicing reading/writing it so practice for steady beat can consist of similar activities.
I hope this has given you lots of ideas!