This 3-part post was drawn from my presentation for the Michigan Kodaly Educators in September of 2019.

Solfege…even the most quiet whisper of the word is enough to awaken our PTSD from undergrad and sight singing and ear training. All kinds of music teachers use it, but what’s so fetch about solfege?
In this part 1, we’ll cover:
- Solfege with older beginners
- Solfege Movements
- Do or La-Based Minor
Details to follow!
Interested in other solfege info? Check out my earlier post on teaching melodic composition with solfege.
Solfege With Older Beginners

While the traditional Kodaly sequence starts with sol-mi usually, using sol-mi with older beginners can cause a mess of problems.
Older beginners (especially if they haven’t sung a lot) already don’t want to sing. And many sol-mi focused songs are aimed more at a younger crowd.
So I came up with a few recommendations for these students based on my own experience and what I’ve learned talking with other music teachers.
Start With Mi-Re-Do
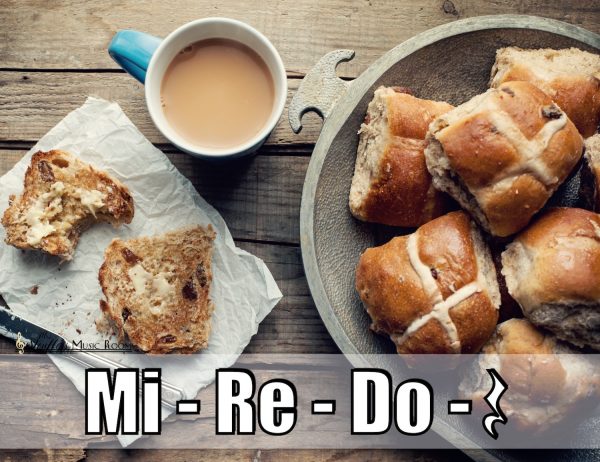
As Lois Choksy suggested in The Kodaly Method I, mi-re-do may actually an ideal place to start with older beginners or a good place to start in general. John Feierabend also suggests this in his Conversation Solfege series.
Choosing mi-re-do songs to start with gives you access to more “mature” material which can also be easily tied in playing instruments such as xylophones or recorders.
Here are some songs which are mi-re-do based:
- Long Legged Sailor
- Closet Key
- Bought Me a Cat
- Hot Cross Buns (cause everyone loves it!)
- Fais do-do
- Hop Old Squirrel
Choose “Older” Songs With Isolated Solfege Parts
Even if you don’t feel inspired by a strictly mi-re-do song, you don’t have to choose songs which only use those pitches to teach!
Many songs will have easily isolated MRD parts even though the rest of the song will use other interesting patterns.
When you sing these songs and play the games, you can later point out to the kids:
“I’m interested in the part that goes…” And practice from there. (Examples in part 3).
Here are some songs which have easy isolated MRD parts, but other notes as well:
- Tideo
- Kansas Boys
- Let’s Put the Rooster in the Stew
- Down to the Baker Shop
- Let Us Chase the Squirrel
- Great Big House in New Orleans
- The Derby Ram
- Itsy Bitsy Spider
- I’ve Been to Harlem
Use Movement
Students in the older age groups (3rd-grade on up) need even more motion than the younger kids at times. They’re also capable of a lot more, so I recommend using as much movement for the pitches as you can.
You can use stairs to show the movement of “high-middle-low.” And I would use those words while preparing the concept of MRD (more on that in part 2).
Another way to prepare this is with whole body movements to represent those pitches. I like to use standing for mi, hover for re, and sitting for do.
This whole body movement challenges them and helps associate the pitch levels.
Keep A Positive Attitude
Finally, never tell them they’re behind what they “should” be at. This can make them even more frustrated.
Just treat it like it’s just something new, and you’ve been holding off on it until they’re old enough for it. This may help them buy into it a little more.
Solfege Movements
There are two main types of solfege movements I like to use: body solfege and hand signs.
We use them because they are physical ways to show the different pitch levels along with these reasons:
- Kinesthetic representation
- Engages body
- Another tool for sequencing at different stages
- Usable by all ages
I usually start with body signs with first grade and then move on to actual hand signs starting in second grade.
Body Solfege
Body solfege is a newer way to show specific pitches using the whole body. It tends to be gross motor rather than fine motor, so it’s better for younger kids.
There isn’t an official list of what they are, but I use these:
- High Do’: hands in the hair
- Ti: point to highest spot where Do is
- La: hands low in the hair
- Sol: hands top of head
- Fa: touch bottom of ear
- Mi: Shoulders
- Re: Cross across chest
- Do: Waist
- Low La,: Thighs
- Low Sol,: Knees
Hand Signs
The hand signs (also called solfege hand signs, Curwen hand signs, and Kodaly hand signs) are the traditional way of showing pitches in a physical way.
These often require more fine motor control, so they may be better for older kids.
(INSERT INFOGRAPHIC OR PICTURE FOR HAND SIGNS)
Do Or La-Based Minor
Another debate or critique when using solfege comes from people who say it’s limited in minor modes. Detractors say that using solfege pigeon-holes you into choosing a lot of major.
While this may seem the case at first, you can quickly move into minor as long as you intentionally choose either do or la-based minor.
The Case For Do-Based
Do-based minor is when you sing where your fundamental pitch is do, but you will provide chromatic solfege for the places where the intervals are different from diatonic major.
Strengths:
- Keeps do as tonic
- Highlights how minor is different from major
- Aligns with higher-level studies (collegiate and high school theory)
Weaknesses:
- You must also teach chromatic solfege to sing in minor earlier
- Students need to be able to analyze melodies to look for changes
- Requires new knowledge of solfege to perform
The Case For La-Based
La-based minor is when you start with la as your fundamental, and from there, you sing diatonic pitches without many changes.
Strengths:
- Avoids weird chromatic alterations
- Keeps relationships between intervals
- In sight reading La-based minor, only accidentals need to be changed.
- More quickly accessible to students
Weaknesses:
- Doesn’t directly address the difference between major and minor
- Gets muddied up by accidentals in complicated melodies
The Verdict
I believe that La-based minors are the way to go. With a focus on elementary solfege, this is really the best choice.
It’s easier to get for the kids, and you still will be able to quickly expose them to multiple modes.
Do-based minor is helpful, but really only at much higher levels of performance where knowing a specific key is of paramount importance (such as with band and orchestra).
Conclusion
I hope you enjoyed some of these tips and tricks on solfege. These questions are ones which are often burning at the front of everyone’s minds.
In the next part, we’ll look at:
- Solfege terms to use with your kids
- Things I wish people had told me
- Prepare, present, practice for solfege concepts
Do you have any other advice on solfege with older beginners? Let us know in the comments below!
Ready for more? Check out Part 2!