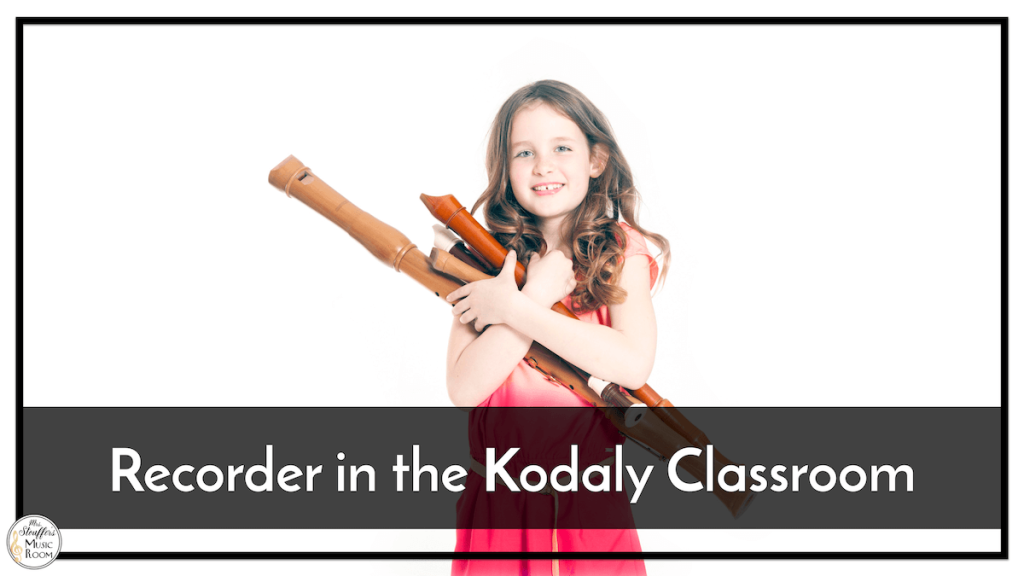
Breaking down recorder teaching to feel like any other part of Kodaly inspired teaching can totally be done. Using The Kodaly Aspiring Recorder can be one way to get there as it is set up in a way that will really help break down the process using the Kodaly method. But if you use that method or not, you can still include Kodaly style teaching in your recorder lessons! The Recorder in the Kodaly Classroom can still feel like a natural part of the process.
To adapt your recorder lessons, instead of showing a piece, and then showing the fingerings, break down your recorder lessons using the PPP method to break down the process. It might take a little ‘longer’ but the end result will be well worth it and I’ve had better student retention! If you’ve adapted The Kodaly Aspiring Recorder into your classroom, or you want to adapt aspects of it with another method, you can still use aspects of this style of teaching in your recorder lessons. Let’s look at how you can break it down so the recorder in the Kodaly classroom feels natural and authentic:
Prepare
This part of the lesson is preparing the recorder concepts using what students already know: solfege, prior fingerings, note names, and includes aural, kinesthetic, and visual prep. The part of the prepare state that is so important is to connect to what students already know.
- Sing the song on text
- Decode the song into solfege – Break down the song into their known concepts.
- Sing the song on solfege
- Teach the fingering – This is important for students to relate the fingering to something they already know (in this case, solfege). This connection is made with a known concept instead of a new ‘arbitrary’ letter.
- Play the song on recorder
Present
The concept you “present” using this breakdown is the note names after they already know the fingering for it and how to use it. When you present it as one concept instead of a concept with a fingering, students connect to what they already know instead of trying to connect two new things to each other.
- Name the note by letter – Here you make the connection between the new note name and the fingering they learned during the prepare stage.
Practice
In this stage, the students practice the new note name using a method similar to a ‘traditional’ recorder lesson. Playing, singing, reading.
- Sing the song on note names.
- Finger along and say the note names.
- Play the song.
Prove
This unofficial fourth step of the Kodaly method is the place for assessment. Here’s how you can assess if students understand the concepts.
- Worksheets – I’m not a huge fan of constant worksheets, but this is also important to practice identifying those notes.
- Practice treble clef identification using the note names they have learned so far. If you are following Sol-Mi-La-Do, etc., this would be EGAC…and so on.
- Use an unknown song with the same concepts. If you ‘save’ a song from the Kodaly Aspiring Recorder, or pick a new one, have students go through the same process for the practice section with the new song adding the step of singing on solfege first if needed. If they can decode the song into note names, they’ve got it!
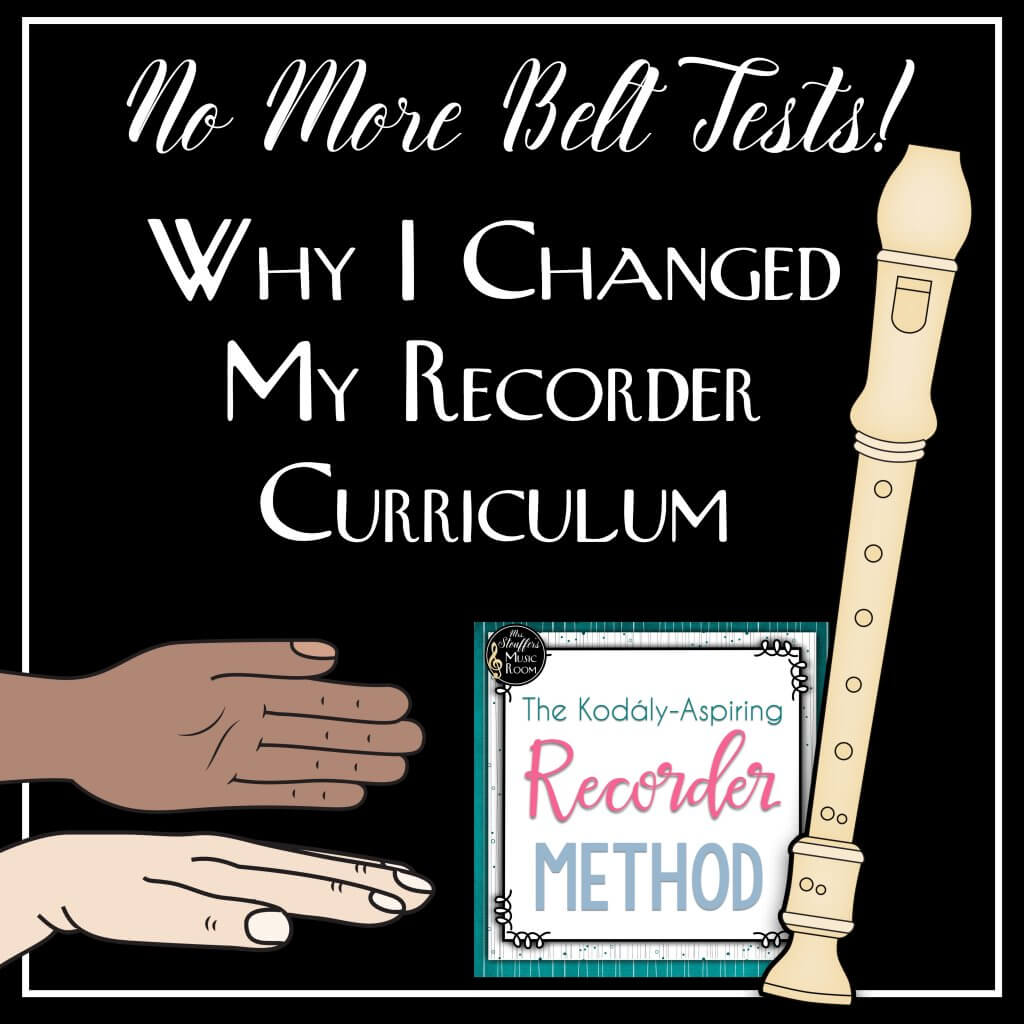
The Kodaly Aspiring Recorder
Have you been itching to change it up? Before you do, check out why I stopped belt tests in my room. Click here to check it out.
I hope that this has given you some ideas how to incorporate Kodaly style teaching into your recorder lessons regardless of if you use The Kodály Aspiring Recorder or not!