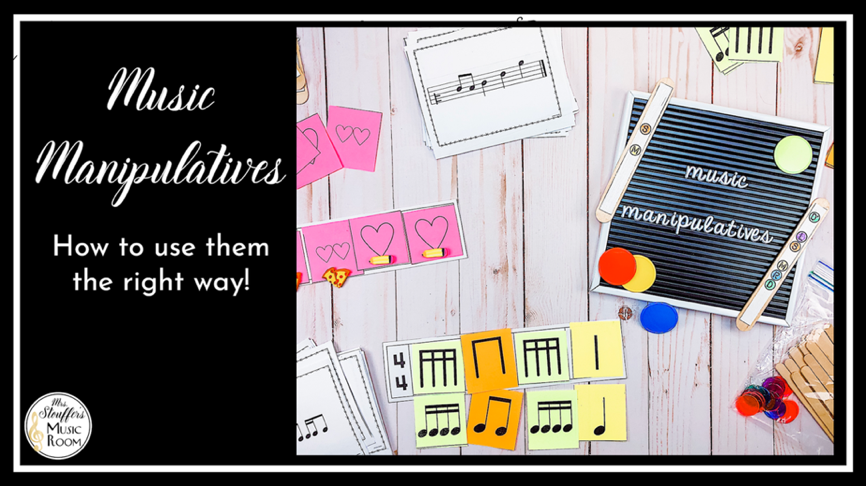
You often see a lot of manipulatives out there for the music room, but it can be tricky to know how to use them in your classroom. And a lot of people end up giving up on them because they go about it the wrong way. In this post, we’re going to look at how to use music manipulatives the right way! Heads Up! Read to the end of this post for a freebie and information on a killer giveaway!
What Are Music Manipulatives?
Manipulatives in the general education classroom are tools students can physically touch that give them a visual and kinesthetic sense of how a concept works. The clearest examples of this are the block cubes you often see in lower elementary math time. The single blocks are arranged with tens in different ways to give the students a hands-on way of deepening their understanding. Music manipulatives serve the same function but with musical concepts. It’s important that whatever manipulatives you use reflect the heart of the concept both somehow in a visual and kinesthetic way.
Examples Of How To Use Music Manipulatives
In this section, I’ll tell you about some of the common music manipulatives I’ve come across and used myself as well as offer some concrete suggestions on how to use them.
Solfege Texting Sticks
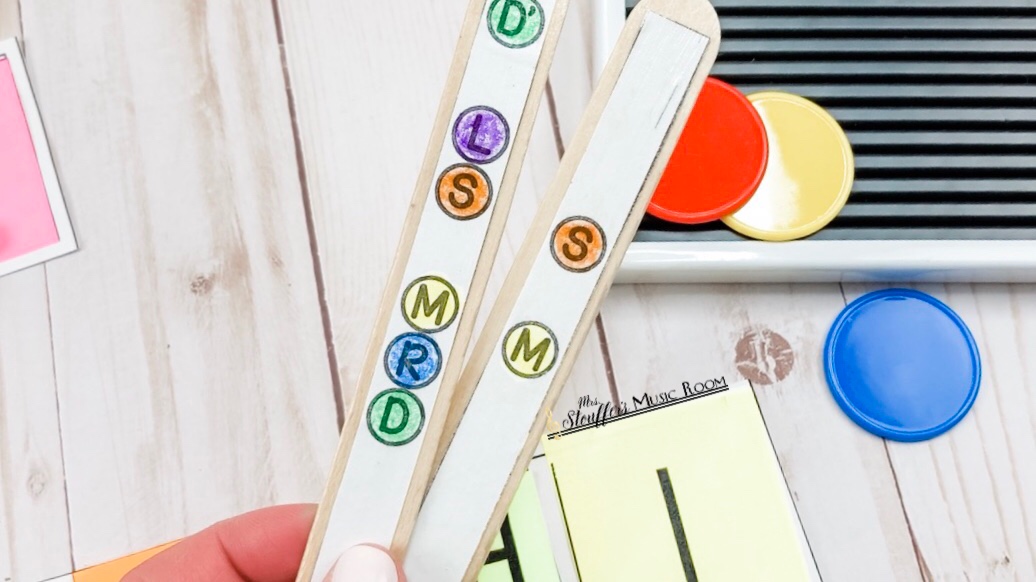
Solfege texting sticks are a great in-between way to get your students working independently on solfege while still associating the intervals in a tactile way. These are often seen on popsicle sticks with the letters for each pitch circle and color-coded. The jumbo sticks are the size I chose (and the size for the free template at the end of this post!) Some people use the little reinforcing tabs from three-ring binders to go around the letters. This gives a small, raised sensation for each note that’s great for tactile learners. I printed these off in paper strips, colored them, and mod podged them. I like the mod podge because it’s durable and easy to wipe clean. They seem to last a while longer this way. Whenever my students sing the solfege or internalize the pitches, I also have them touch the pitches on the texting sticks. This gives them a visual and kinesthetic way of associating the intervals. I don’t put all of the solfege on one stick. It may be better to have the sticks isolated to the pitches the kids know and are learning. I feel this avoids overwhelming the younger kids with all of the solfege they won’t use for years. These would be great for preparing kids to compose with solfege which I’ve posted about before.
Rhythm Manipulatives, Beat Strips, Rhythm Cards
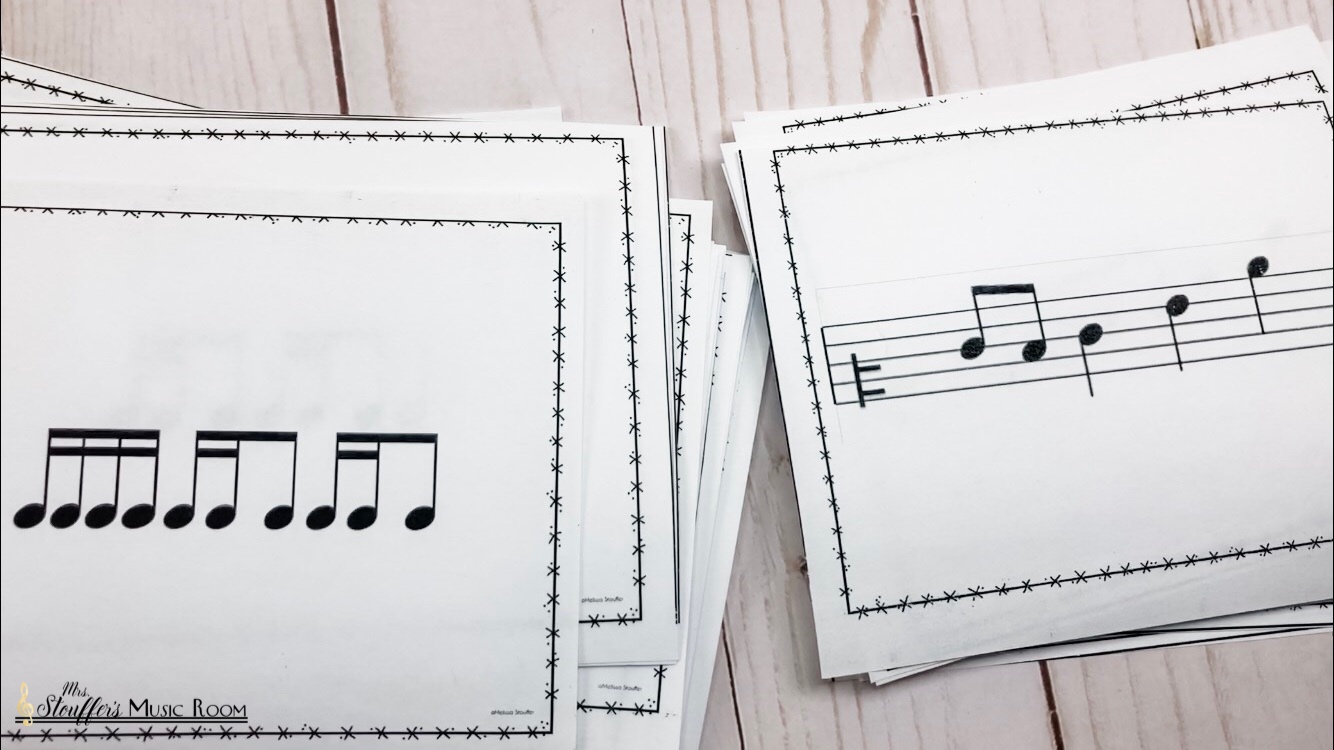
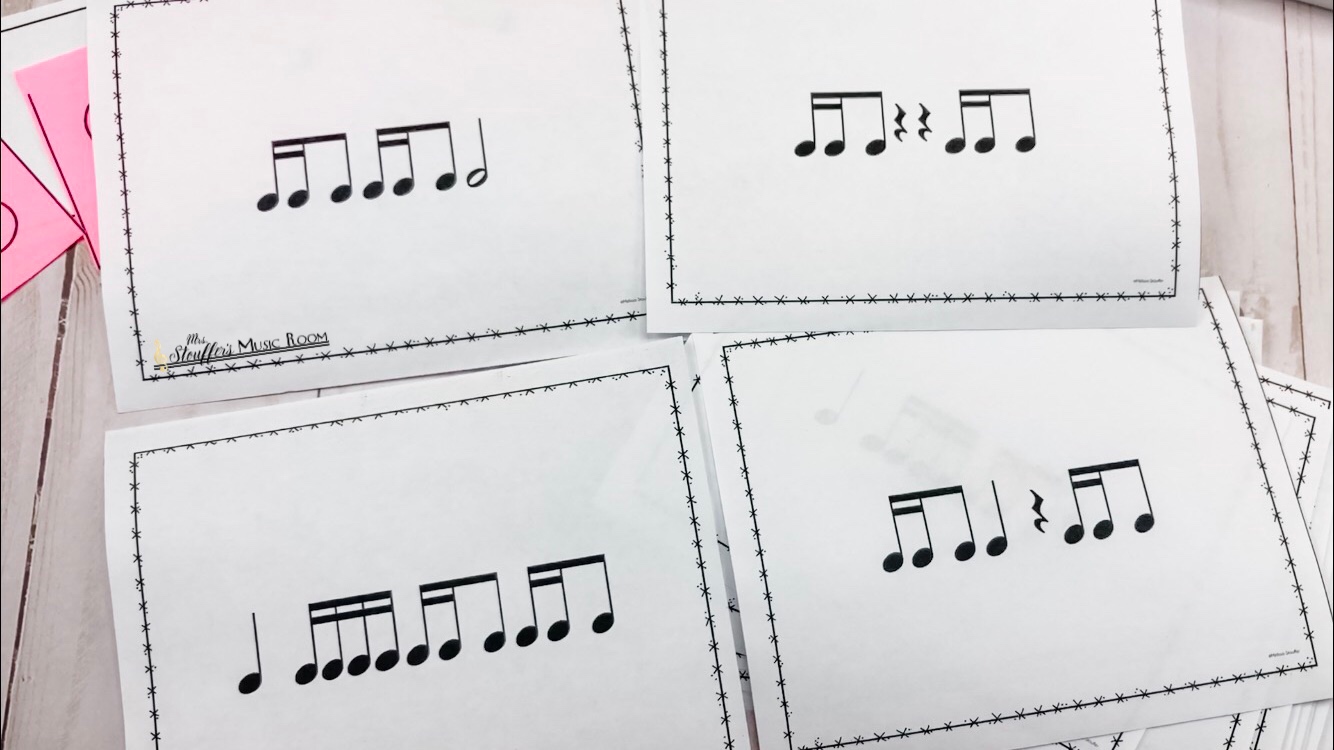
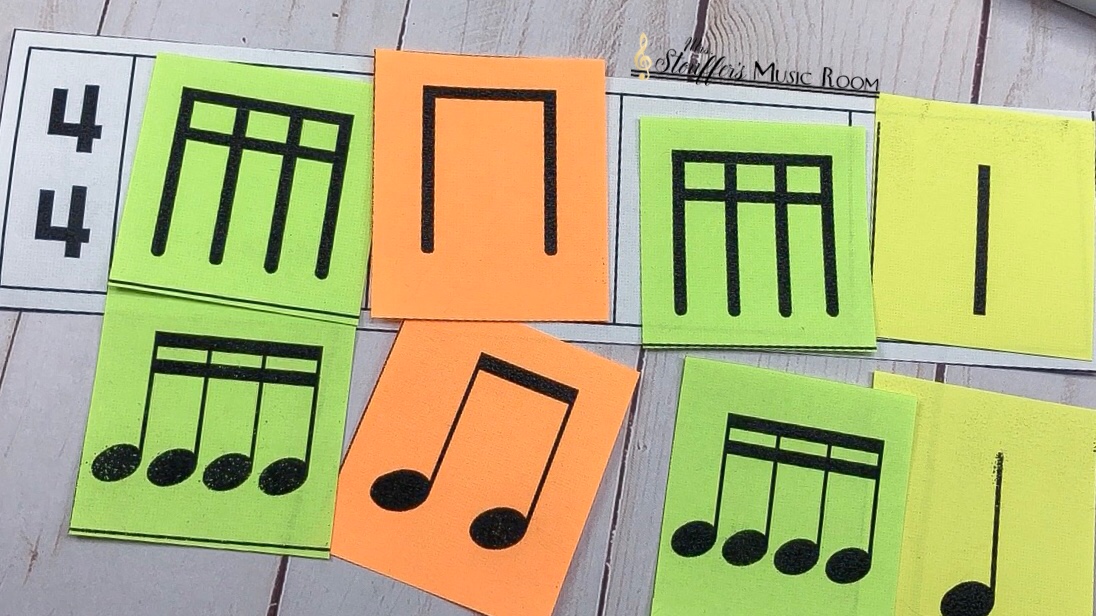 These are among the most common manipulatives in the elementary music classroom. I remember seeing these in the first couple weeks of my undergrad elementary music methods course. The beat strips line up with the meter and offer spaces to fill in the beats based on what they hear or what they want to compose. The rhythm cards are cut and shaped to fit in these boxes correctly, so the kids can’t put them in the wrong way. For example, a half note card would take up two full beat spaces. These cards can be used with stick notation or with note heads depending on what you prefer. I usually start with stick notation and then begin adding noteheads when my kids are in second or third grade. These are a really common manipulative and it’s one of the first I learned about in college. You can buy premade ones in my store by clicking here. There a lot of different activities you can use with these rhythm manipulatives including:
- Copying and reading (getting used to working with the patterns)
- Dictation (writing down what you perform)
- Composing (making and performing their own patterns)
- Inner hearing/audiation
There’s also a preparation version of these using beat strips with visual icons such as hearts for different rhythms. Or they use erasers or pictures to keep track of the rhythmic sounds.

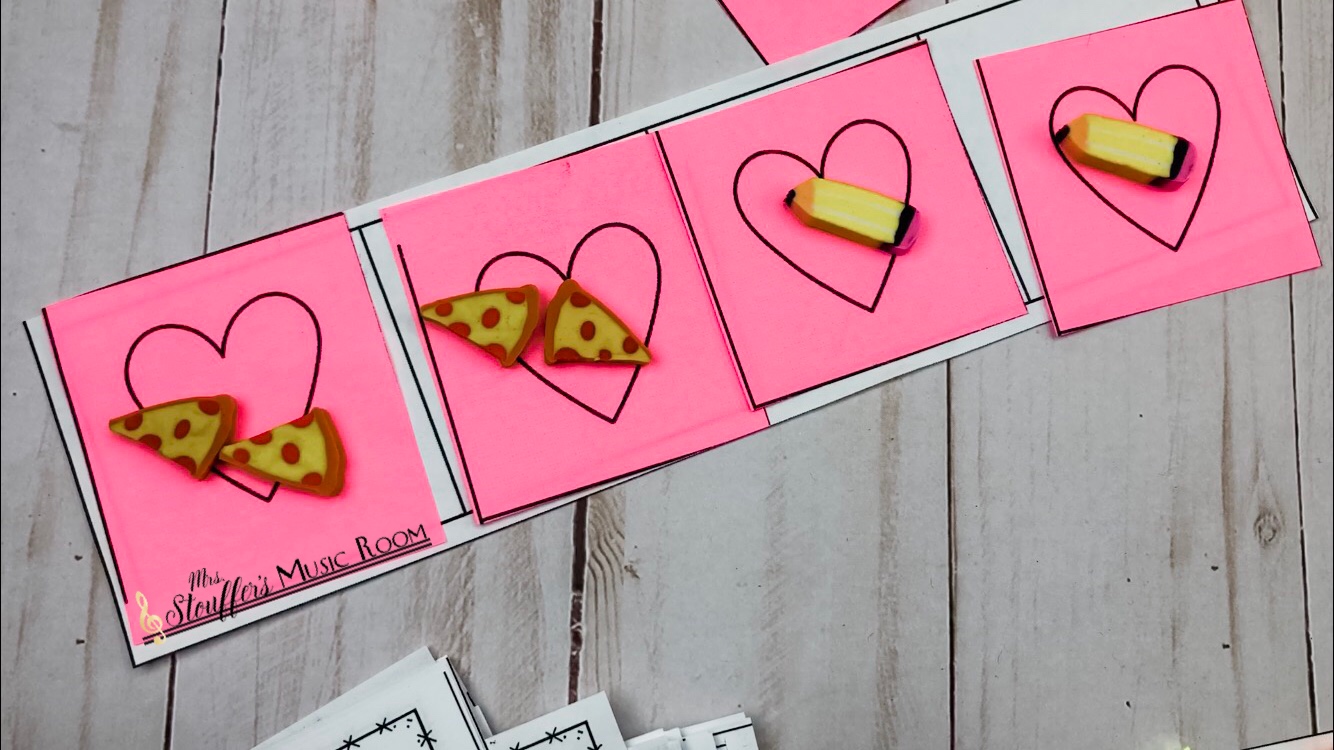
For example, two pizza erasers could mean “titi” and one pencil eraser could mean “ta.” The physical movement of the pieces and the visual “fitting in” of each is what makes it such a great set of manipulatives.
Pitch Bingo Chips
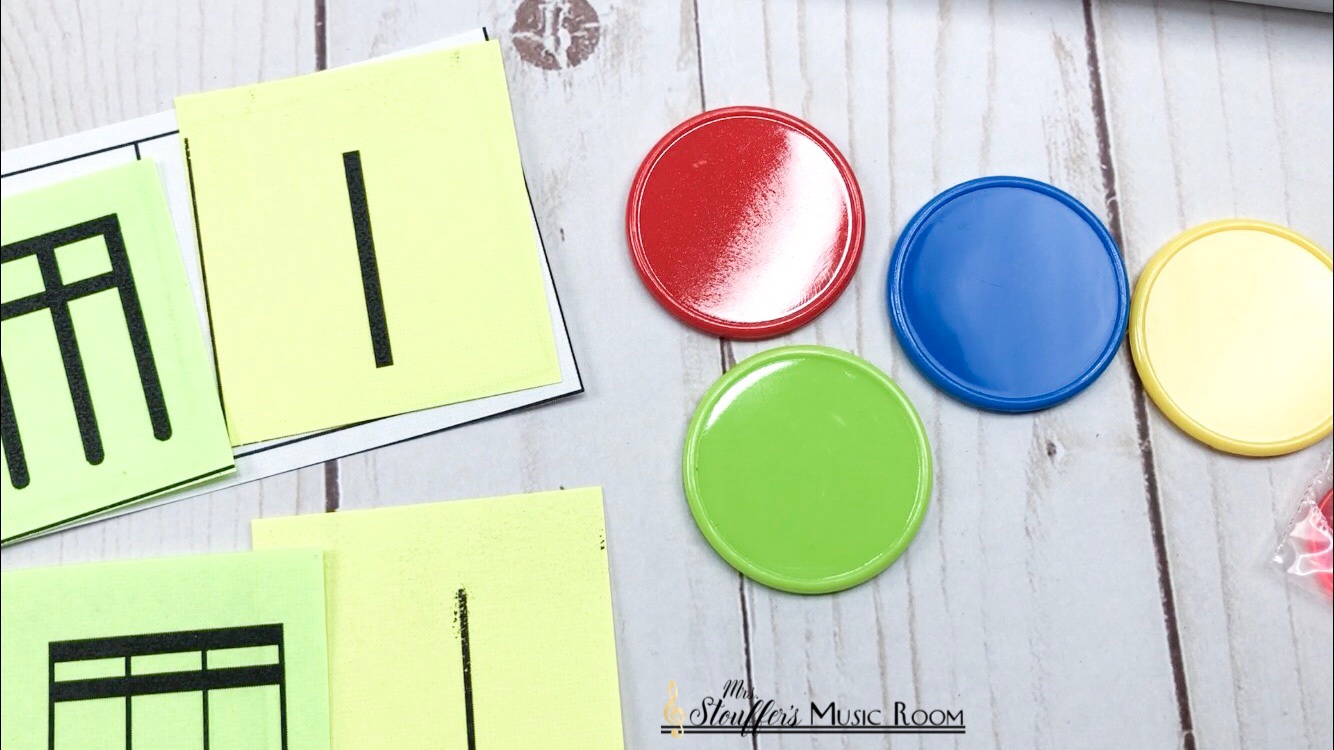
Students can use these big bingo chips to show high and low (or sol and mi) quickly. They just arrange them based on how you ask or where they hear. I would use this big bingo chips with a piece of paper with a high/low or sol/mi line, or sometimes easier – a piece of yarn! Erasers are a good option for this too. This gives them an easy physical/visual way to show what they know, and it gives you a quick way to assess formally or informally.
Popsicle Stick/Chip Kits

Students can use these big bingo chips to show high and low (or sol and mi) quickly. They just arrange them based on how you ask or where they hear. I would use this big bingo chips with a piece of paper with a high/low or sol/mi line, or sometimes easier – a piece of yarn! Erasers are a good option for this too. This gives them an easy physical/visual way to show what they know, and it gives you a quick way to assess formally or informally.
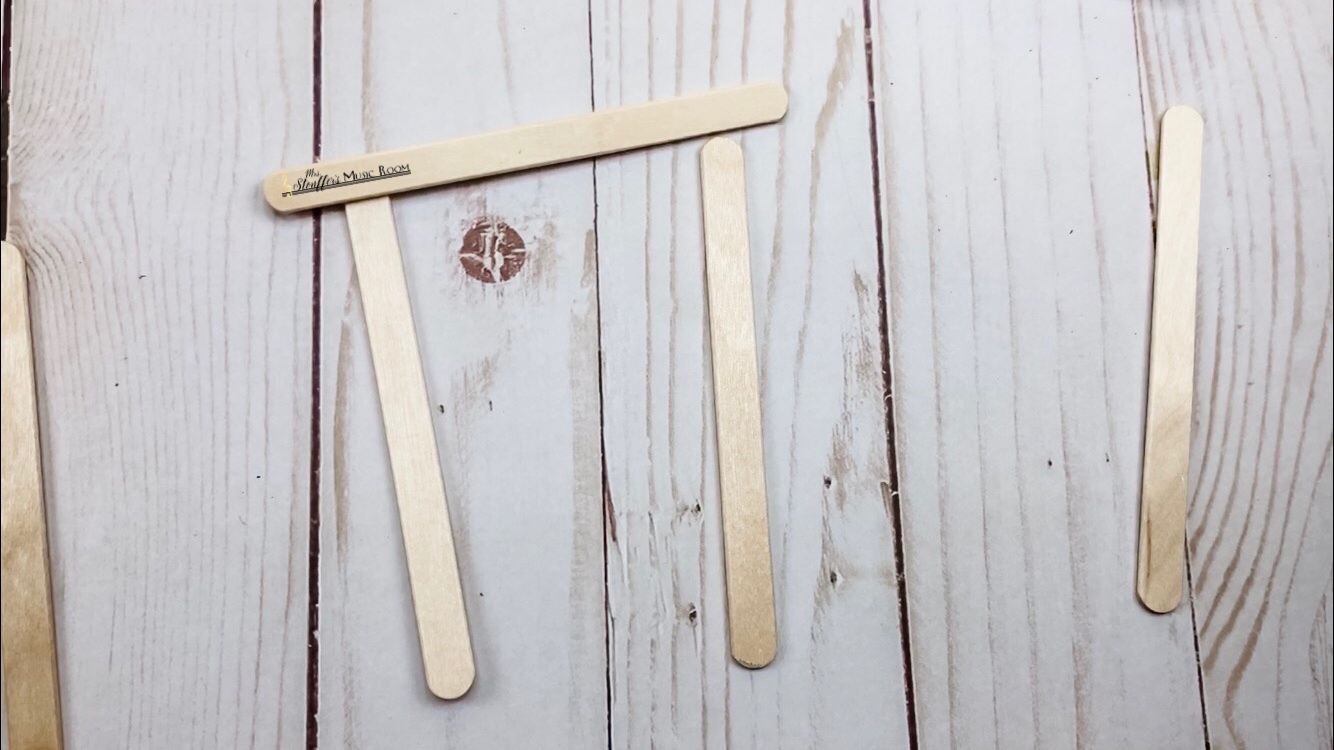
You could also use the sticks as the beat and place erasers or the little bingo chips on to the sticks for the rhythm. As a stick notation writing exercise, the students can use the sticks to make the shapes of the stems for the actual rhythms. For example, a pair of eighth notes would need three sticks: two for each stem and one for the bar connecting them. Note: It may be hard to use the sticks to write sixteenth notes, but it can be useful for just practicing what they look like. It gives them a physical way of seeing the four stems connected by two bars that don’t go over.
Rhythm/Solfege Cards
These more advanced cards have premade rhythms and solfege patterns that you want them to know and practice. They can be used to get through a lot of patterns quickly and independently or cooperatively with others. Here are some simple ways they can be used:
- Read them and quiz each other
- Arrange the cards into a new song
- Race Games – three groups and each team gets a point for being the first to bring up a card and perform it correctly
I like these because sometimes when you have students compose on their own, you’re always battling the students who only want to use four quarter rests or all whole notes.
This way you force them to practice everything, but they’re still getting some individual say in the product. These are great for encouraging cooperative learning and motivating students to do the activities.
Giveaway!
I hope you picked up some useful tips on how to use music manipulatives. Now it’s giveaway time! First, everyone can get solfege texting sticks for free by clicking this link. Next is a giveaway for the rhythm cards, solfege cards, and the rhythm manipulatives/beat strips. One lucky person will win all three! By entering you can also win a $10 TPT gift card, so make sure you sign up!
Giveaway ends Friday August 16 at 11:59 pm! a Rafflecopter giveaway
If you missed the giveaway, make sure to follow my blog, Facebook page, and YouTube channel for more giveaways!
Getting worried about heading back to school? Check out these 5 tips for Back-To-School.